Scratching Post Animation, Page 2
Step 8 Select the paint brush tool:

Click on the little paint brush
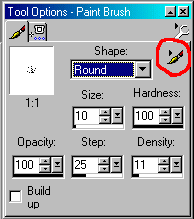
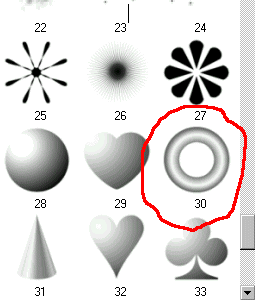
and select Custom from the drop down menu. Find this paint brush and select OK.
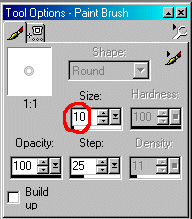
Change the size to 10 and leave other settings alone.
(Note for PSP 8 users. I just became aware that this brush is not included in the brushes for this version. The brush for this tutorial is JascBrush2 018 from the JascBrush2.jpr file. Geocities won't let me upload a .jpr file to this site. If you have PSP 7, you can import the file into your PSP 8 brushes. FILE > IMPORT > CUSTOM BRUSH If you don't have access to this file, in PSP 8 you could use the rounded flower brush and get a similar effect. Thanks, Michelle, for letting me know about this.)
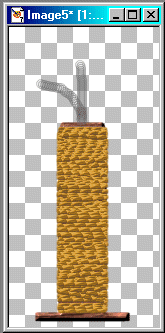
Step 9 I moved the scratching post down a bit to give me plenty of room for a topper. Add a new raster layer and name it spring1. Set foreground color to a dark gray (I used #606060). Starting in the center of the top of the post, draw a spring like this:
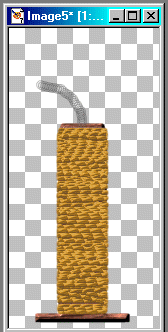
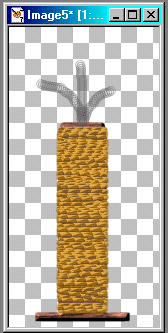
Add a new raster layer and name it spring2. Draw another spring:
Finally, add one more raster layer and name it spring3. Draw another spring:
Step 10 We need a ball. Open a new image 40 x 40 with transparent background. Flood fill with your favorite color and apply the following effects:
Effects > Noise > Add > 10% > OK
Effects > Geometric Effects > Circle
Effects > 3D Effects > Inner Bevel > use Pillow preset > OK
Image > Resize > 90% of original > Ok

Step 11 Edit > Copy (you're through with this image). Go back to your scratching post image and paste as new layer. You'll need a ball for each spring so Layers > Duplicate for the second ball and Layers > Duplicate for the third ball. Move each ball to the end of one of the springs.
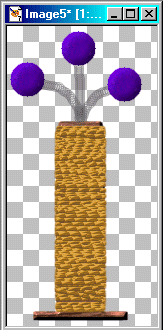
We've got all the parts, now we just need to give it some action.
Click here to go to the next page.
Created October 18, 2002 © Copyright Barb's Hideaway
Please do not copy or place this tutorial any other place
without written permission directly from me.
A link is allowed without permission.
Whatever you create with the tutorial belongs to you! Thank you.
This page
hosted by  Get your own Free Home
Page Get your own Free Home
Page
|
|
|