Scratching Post Animation, Page 3
Step 12 First, make 2 duplicates of your scratching post layer. To do this, make that layer active and then go to Layers > Duplicate and Layers > Duplicate again.
In your layer palette, click on the eyeglasses to make each layer invisible except one of the scratching post layers, one of the springs, and the ball for that spring. Click on one of those layers to make it your active layer and go to Layers > Merge > Merge Visible.
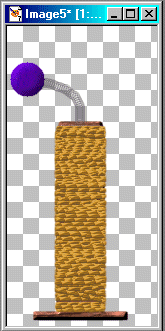 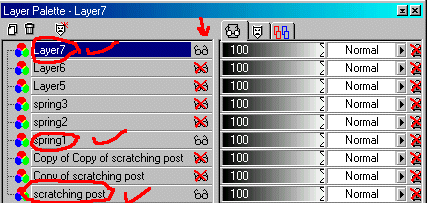
Turn off the visibility of the merged layer and name it ani layer1.
Make visible one of the other scratching posts, a spring, and the ball for that spring. Make one of those layers active and then Layers > Merge > Merge Visible.
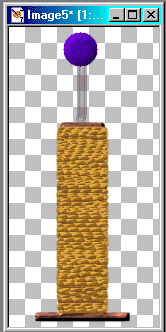 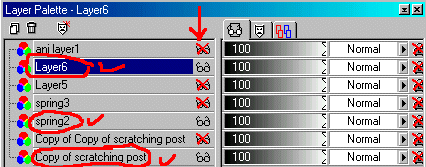
Turn off the visibility of the merged layer and name it ani layer2.
Make the last three layers visible and select one of them to make it active, then Layers > Merge > Merge Visible.
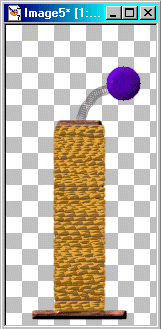 
Rename the merged layer as ani layer3. Make all layers visible and save as scratching post in psp format.
Step 13 You're ready to animate! Open Animation Shop (go to File > Jasc Software Products > Launch Animation Shop).
Step 14 In Animation Shop, click on Animation Wizard:

On the first window, select "Same size as the first image frame" and press Next.
On the next page, select "Transparent" and press Next.
Select "Upper left corner of the frame" and "With the canvas color"
Select "Yes, repeat the animation indefinitely" and enter "15" for the display time. Press Next.
Click "Add Image" and enter scratching post, press Next and then Finish. View Animation. You can go back to the frames and to Animation > Frame Properties if you would like to change the frame speed. I like it fast!
When you are satisfied with the settings, save your file. An animation must be saved as a .gif file. Go to File > Save as and enter scratching_post, press Save. The first screen has a slider on the left side, I always save it in the top setting for best image quality. Press Next, Next, Next, Finish. You're done!
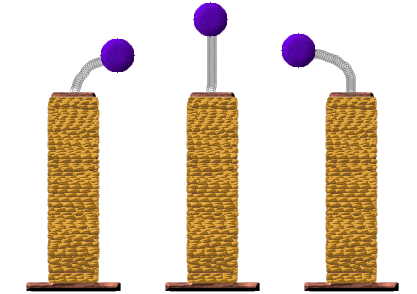
I had a lot of fun with this, and hope you did, too. But if you get confused, please email me by clicking here and I will be glad to help you. Sometimes things make sense to me but not to anyone else :-)
You could make something different for the topper...perhaps a toy bird or feathers. Enjoy!
Click here to return to tutorial index.
Created October 18, 2002 © Copyright Barb's Hideaway
Please do not copy or place this tutorial any other place
without written permission directly from me.
A link is allowed without permission.
Whatever you create with the tutorial belongs to you! Thank you.
This page
hosted by  Get your own Free Home
Page Get your own Free Home
Page
|
|
|