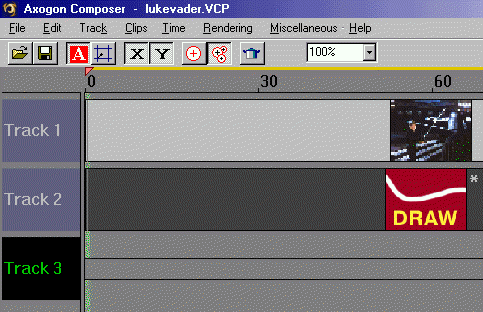
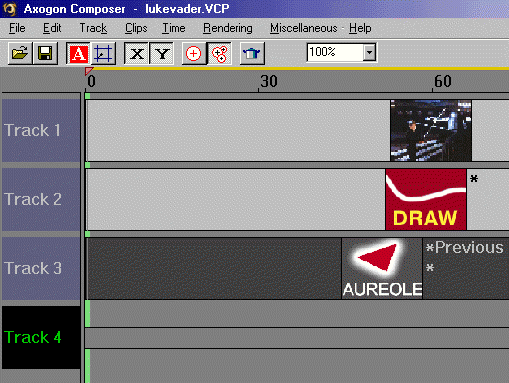
Now, let's create another track:
Click again on the timeline to create a new clip. Now, we want to select aureole.

When you open the track window to track 3, and set it to match the image size, you should this:
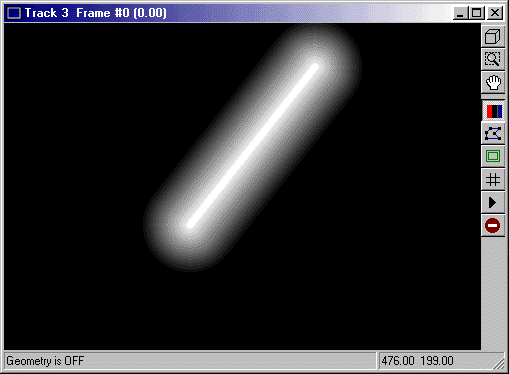
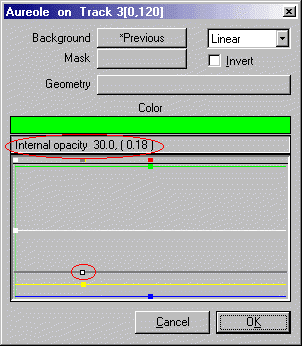
Still doesn't look quite right yet, does it? Ok, the first thing we are going to do is change the color. Double-click on the timeline to open the aureole settings dialogue (again, only pay attention to the number in parenthesis):

Change the color to green. Now, take the yellow bar which controls the width, and move it so you get the number 7. (I used 8 originally, but thought it was too thick, so I changed it to 7 -- Depending on your own preferences, you can go back and change it to your liking.) Next, move the grey bar, which controls the internal opacity, to the following setting:
Next, move the white bar, which controls the aura opacity, to the following:
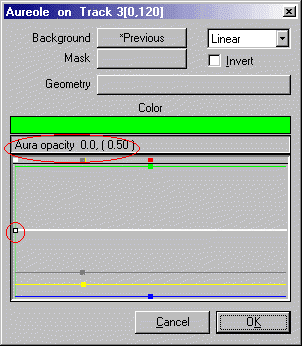
Click OK. You should now see this in your track window:

Still doesn't look like a real saber, does it? Let's close this window and create yet another track.
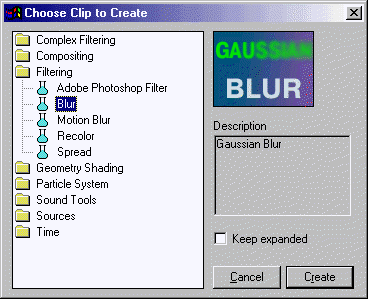
On this track, we are going to add a slight blur.
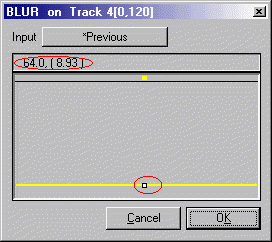
In the blur settings window, just set the blur to as close to nine as you can get.
You should see this in the track window:
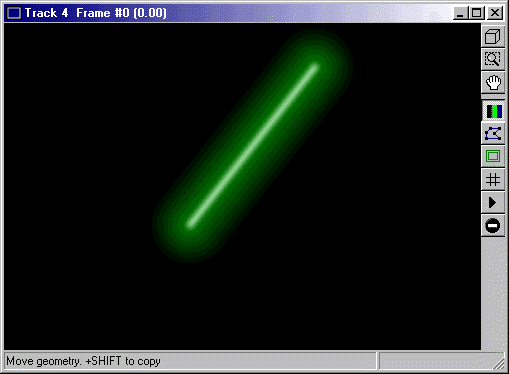
Ok, still not there yet, but we're getting closer. Close the track window.
Click here to continue.