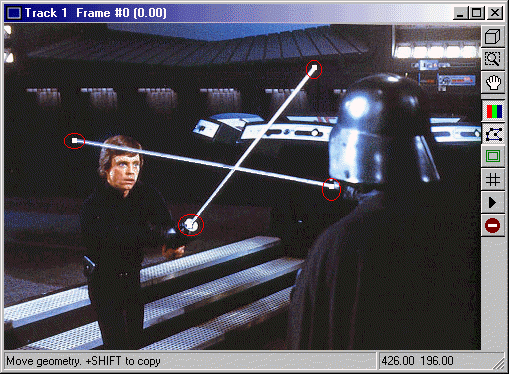
Now, the first step in creating the lightsaber effect involves the creation of geometries. For this tutorial wich only involves a still image, we will simply draw two lines, on for each saber.

In the above image, you see four points. Right-click on the window, and a menu will pop-up. Select create, then select contour. We will start with Luke's saber, so place the mouse arrow at the base of Luke's blade. A small square appears. this is the first vertice in the geometry. As you move the mouse, a line follows from the vertice to the arrow. Move the mouse to the tip of Luke's blade, observing that the line is exactly along the blade. Click at the tip of the blade, and the second vertice appears. Now, to complete the line, go back to the first vertice, and you will see a letter "C" appear. This means by clicking on the original vertice again, you will complete the geometry. Do this. Now, you have a line along Luke's blade. Do the same for Vader's. Once you ahve done this, close the window, and return to the main work window. Now, create another track. To do this, go to the area directly under the name of the first track. You will see an arrow pointing left. Click and a new track will be created. You should now see this:
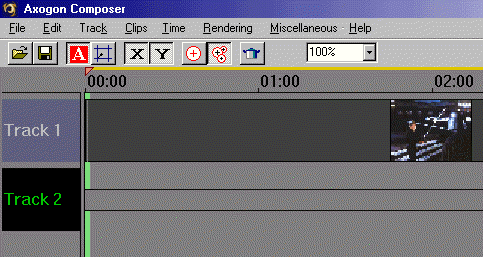
If you open the track window, you will see exactly what is in track one. Without it's own clip, it is a transparent track. Click once on the track's timeline to open the clip selection dialogue. You want to select draw shape in the geometry shading menu:
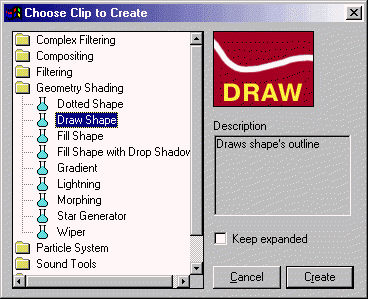
Now click create. Next, double-click on the timeline. You should see this window:
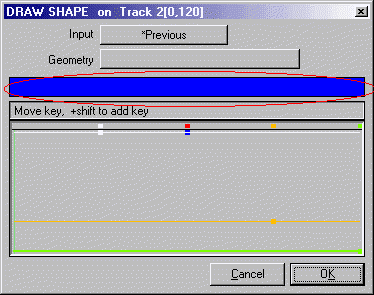
Click on the blue bar that is circled in the example. You will see this window:
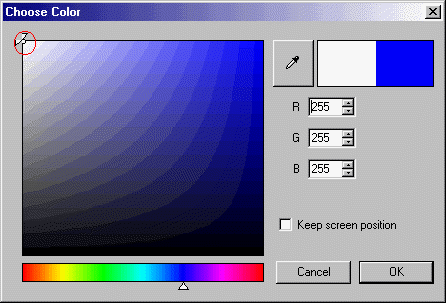
Place the pointer in the color block all the way to the upper left corner to get white, or type the number 255 in all three color settings. Click OK, you will be back in the draw shape window.
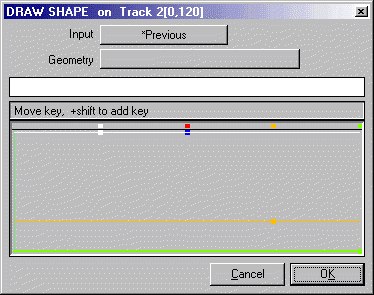
The color bar is now white. This is the color that you want for your saber core. Next, click on the input window. You will see this:
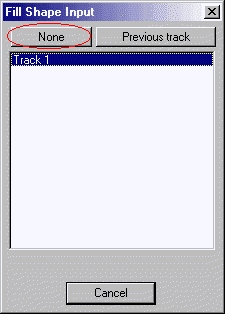
Select none for the input. Click on the geometry button. You will see this:
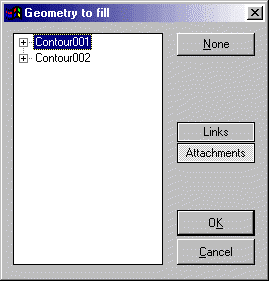
Select the first contour, this is the one we put over Luke's saber. Click OK. You should see this now in the track window:
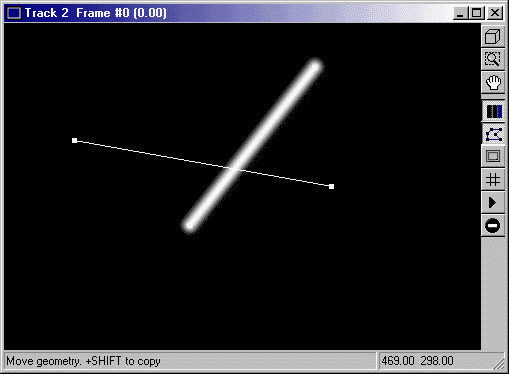
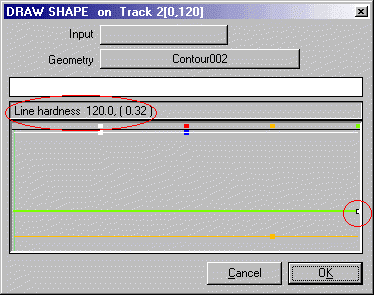
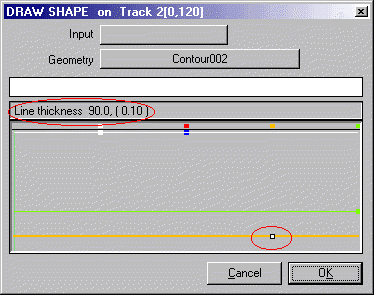
Now, all you need to do is make sure the green bar and the orange bar are set to the following (please note that you only need to pay attention to the numbers in parenthesis):
Click on the button in the right menu that looks like a geometry. It is circled in the image below. This will hide the geometries. You will now see this in the track window:
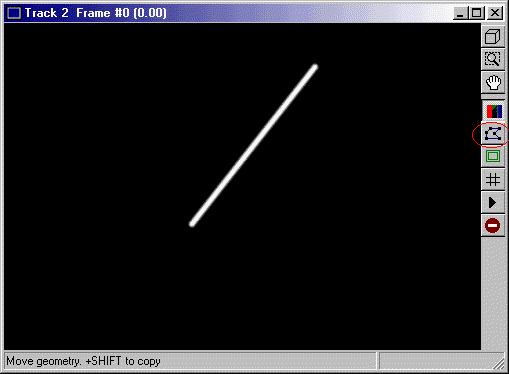
This is our saber core. Not too impressive, is it? Close the window, we are finished with this track.
Click here to continue.