|
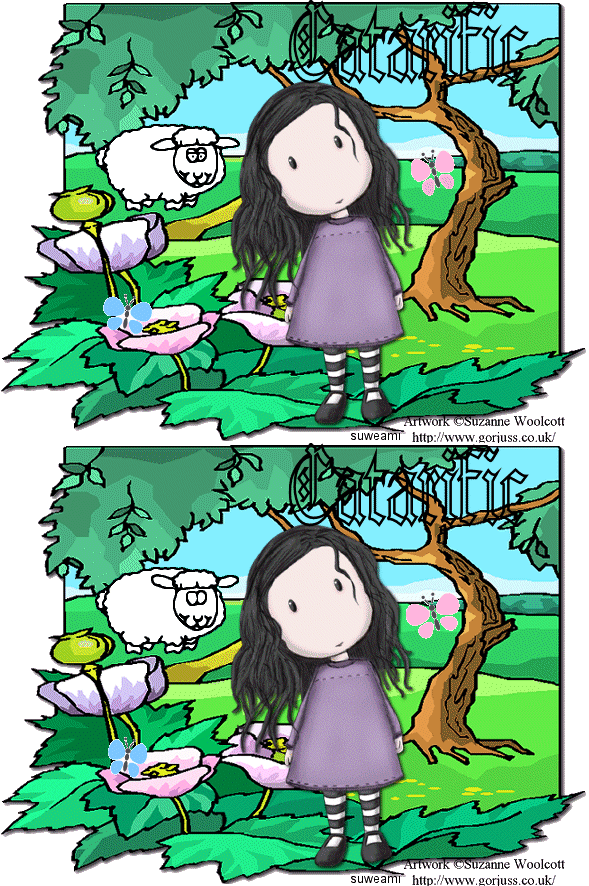
Sheep's in the Meadow
Step 1 At Animation Shop, go to File/Open and locate the psp or psd file.Step 2 With the mouse, right click on this file and go to Duplicate Selected. Once you do, you should see F:2 which means 2 frames. Step 3 Go to View/Normal Viewing. Left click the control and A keys to activate all the frames. Step 4 Open up the sheep animation. Holding down the control key, left click the A key to activate all the frames. Step 5 Go to Edit/Copy. Make the tag image active and go to the very first frame and go to Edit/Paste into selected frame. Holding down the left mouse button, place the animated sheep in the meadow (see tag above). Once you have the animation placed, release the left mouse button. Step 6 Open up the one of the butterfly animations. Holding down the control key, left click the A key to activate all the frames. Step 7 Go to Edit/Copy. Make the tag image active and go to the very first frame and go to Edit/Paste into selected frame. Holding down the left mouse button, place the animated butterfly on the tag and release the left mouse button. Step 8 Open up the second butterfly animation and repeat Steps 6 and 7. Step 9 Left click the control and A keys to activate all the frames. Right click on one of the frames, go to frame properties and left click. Type in 55. Step 10 Before we continue to save the animation, let's first click the Customize button to make sure you have all the correct settings for this animation. Click the Customize button and you will see three tabs: Colors, Optimizations and Partial Transparency. Here is what each setting should be under the separate tabs: Colors 255 Colors, Optimized Median Cut and Error Diffusion should be checked. Optimizations The middle three selections should be checked. The top and bottom selections - unchecked. Partial Transparency Convert pixels less than 40 should be checked. Yes blend with this color and make sure that the color in the color box is WHITE. After
customizing these animation settings, click Ok and click Next and you will get
the following screens: Step 11 Make sure to save your image as a gif file. We hope you enjoyed this tutorial. Purrs, Nikki, Nichie and Sue
|
