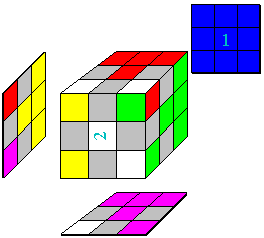
Notice that it also changed the orientation of the top-front corner pieces,
but they are still in the correct location. We'll fix their orientation in Step 3.
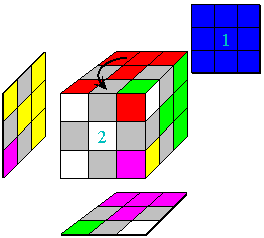
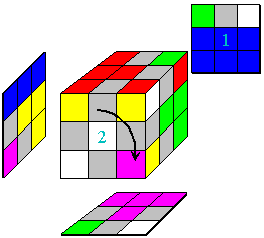
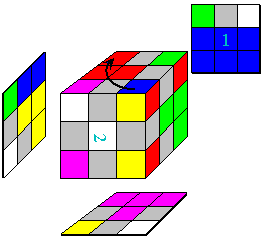
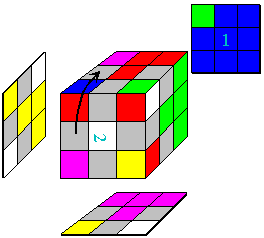
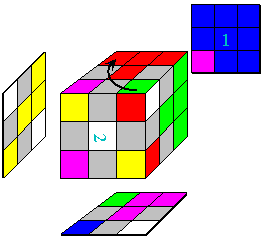
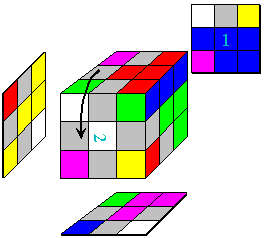
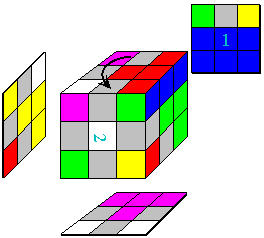
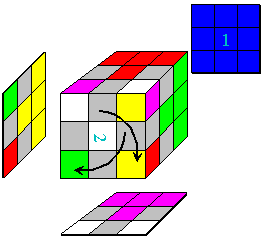
| Move 1: U-1 F U L-1 U L U-1 F2 | |

|

|
| U-1: Rotate the top counterclockwise | F: Rotate the front clockwise |

|

|
| U: Rotate the top clockwise | L-1: Rotate the left side counterclockwise |

|

|
| U: Rotate the top clockwise | L: Rotate the left side clockwise |

|

|
| U-1: Rotate the top counterclockwise | F2: Rotate the front clockwise twice |

|
|
|
The move is complete, and has swapped the bottom-front corner pieces. Notice that it also changed the orientation of the top-front corner pieces, but they are still in the correct location. We'll fix their orientation in Step 3. |
|
Continue solving the Rubik's cube.
Contact info: I appreciate receiving e-mails describing your success with these directions, but I cannot provide any additional help in solving the Rubik's cube beyond the instructions and steps shown here. Please also e-mail if you have problems accessing a page or seeing a graphic.

These pages are mirrored at http://www.alchemistmatt.com/ and http:/www.geocities.com/alchemistmatt/.
Last Modified April 17, 2002