Create the Poppy BrushMap
- 400 x 150 brushmap with wrapping around all edges
- Painter 5.0 with a growth brush which paints the various poppies seen.
- Brown background so there is no antialiasing problems with a white fringe
|
 |
Create the Poppy Mask
- Use the magic wand tool in Photoshop to select the brown background and change to white
- transparent in Imagine when used as a filter map
- Inverse the selection and color the poppies black to make them opaque
|
 |
Create the Poppy object
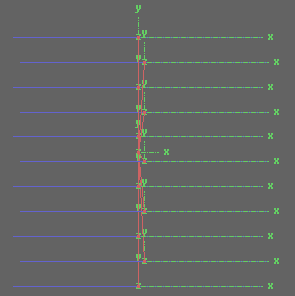
- 400 x 15 simple plane
- The plane is a multiple of the brushmap 40 x 15 (400 x 150) and then 10 times the
length. My brushmap will be repeated 10 times along the plane to give a longer row of
poppies.
|

|
Duplicate the object and offset
the objects
- Replicate the object to a y length of 400 with 10 additional objects. The final
product is 400 x 400.
- Slice the object so all objects will be discrete.
- Apply attributes to copy the brushmap and filter map onto the objects.
- Offset every other poppy row so the poppies will appear more randomized and not like
rows of corn.
- Group them together for ease of use and placement into the stage editor.
|

|
How to animate the field of
poppies
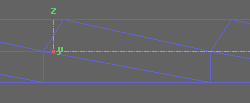
- Simulate wind blowing across the poppies by flexible bending.
- Use the shear tool to bend the top of the poppies to the right.
|

|
Create the states
Default state and 90 degree vertical state - same
with poppies standing straight.
Also 135 and 124 degree states. 135 was
manually created and 124 was tweened.
|

|
Setup single object animation in
the Stage Editor
- Beginning object is 90. Followed by 124 and then 135.
- Alternate 124 and 135 until the last two states.
- Then slow down from 124 to 90 and finally stay at 90 for a steady
resting state.
|
 |
Duplicate and offset the poppy
objects in the Stage Editor
Copy and paste in the action editor so imagine will
duplicate as many copies that are needed of your poppy rows.
Offset the rows by 10 units to randomize their
appearance from the front.
The picture on the right is 90 degrees to the front
of the scene. The front rows appear dark as there are no lights behind the objects.
|

|


