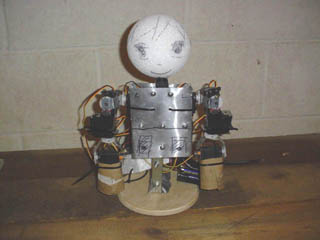
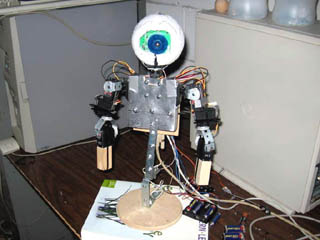
 |
First initial construction. No
blueprints or guide to go by. First thing to plan out is how the arms will
move, and then you position the servos to move accordingly. Keep in mind,
having longer arms means more weight and the servos will work harder.
Another thing to keep in mind is to avoid gluing parts together right
away. This is a prototype, so try to make the parts replaceable, in
case you want to change your design. |
 |
The arms
are too long. A new smaller case was made. Adjusted the position of the
servos to make the arms shorter. The servo joints were also remade
smaller. This picture shows initial steps at designing the neck and
head. The head is a foam sphere which you can find in the crafts section
of your local department store. |
 |
I'm reusing and old USB Intel web
camera as an eye. The camera enclosure was removed and used a utility
knife to carve and space to mount the camera circuit board. Also note the
servo controller board is now mounted on a piece of wood. Cardboard tube
is no longer used. |

|
A significant change in appearance.
Case was shortened and now torso is mounted higher. Wooden
controller mount is mounted on the back. This organizes a lot of the servo
wiring. Small wooden blocks are used to extent the arms. Additional
tilt servo was added to neck. Neck now has pan and tilt. |
 |
Currently stage in design. I
didn't like the Cyclops design so I did away with the old foam head.
Found another old camera (higher res) and incorporated it into the head.
I'm using Stuff-it spray foam to "glue" it into position. At
this stage decide if you want to do this or not. If you do, use gloves and
make sure the parts are positioned how you want them before they
dry. I've written some pretty primitive programs for the camera to
see. Right now it can recognize red spots and then try to center
it's sight on it. Also check video link 1. Which I'm using a toy doll as a
skin. |


