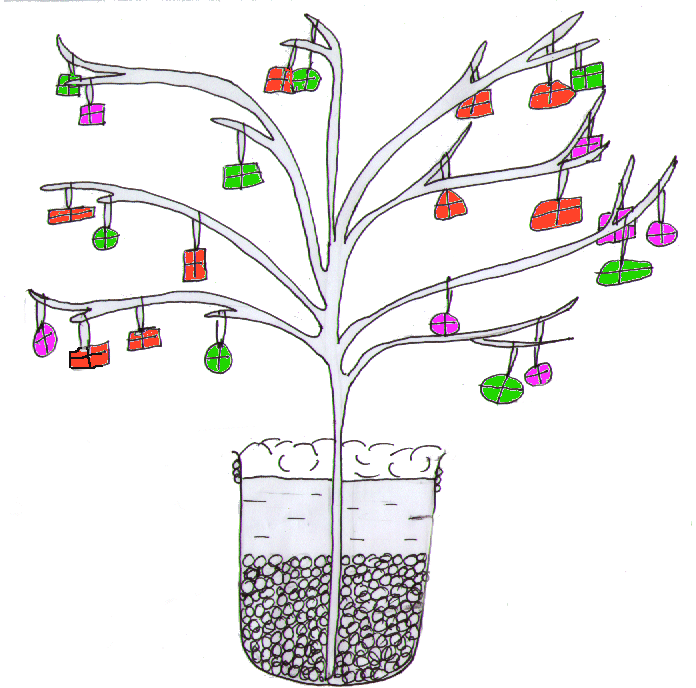
- Spray or paint the branch and sprinkle
it with glitter before the paint dries so that the glitter sticks
to the wet paint. Paint small areas at a time, over newspaper, which
can the collect the spare glitter.
- Decorate the container - either stick
on strips of plain paper or newspaper and paint a nice rich colour,
or cover with strips of brightly coloured gift wrap - use PVA glue.
Leave to dry. As an added effect, paint some string and leave to dry.
Paint the rim (also the base if you wish) of the pot with PVA glue
first then wrap the string around the glued area of the rim a few
times.
- When both the branch and the pot are
dry, fill the pot to halfway with the gravel and push in the branch
so that it stand independently.
- Fill the pot to the top either with
Plaster of Paris (mixed to manufacturer's instructions) or with plasticine
pressed down firmly.
- Cover the plasticine/plaster with cotton
wool to resemble snow.
- Wrap the 24 tiny gifts in gift or tissue
paper and tie with the embroidery thread leaving a loop from which
to hang each one from the tree.
- Number the tiny presents from 1 to
24 (write, paint or stick on the numbers).
- Arrange the presents on the branch
before the end of November for opening one per day from the 1st to
the 24th December.
This page was
last updated 29th March 2000
© 1999, 2000 Chrysalys Crafts
|


