
This tutorial is assuming that you have no prior experience with Axogon. If you do, feel free to skip the parts you already know. It also uses Axogon version 1.0, so if you are using a previous version, it might look a little different. Also, keep in mind that this is for a still image, when rotoscoping sabers in a video clip, some of this will differ slightly.
We will be using the following image for this tutorial:

Once you have loaded Axogon, the first thing you will see will be this if you have version 1.0:
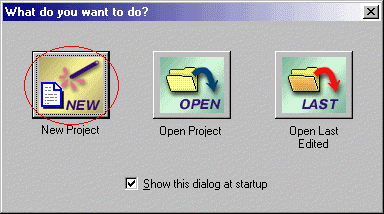
Select open new project. This winodw will open:
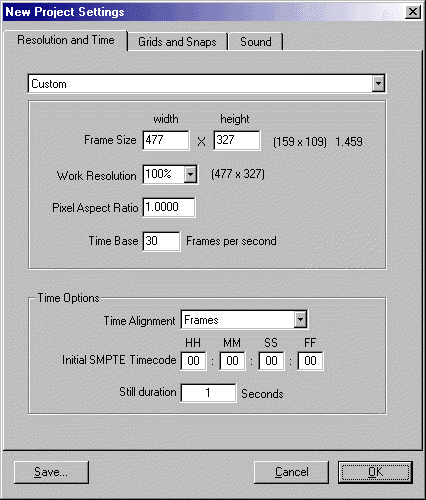
If you have an earlier version, to see this screen, go to teh top menu and select edit, and go to project settings.
For this project, the other settings will not matter, but make sure you specify the frame size, as this is frame size of the original image. The image will be distorted if you do not use these settings. Click OK. You will then be in the main work window. If you double-click on the name Track 1, you will see this:
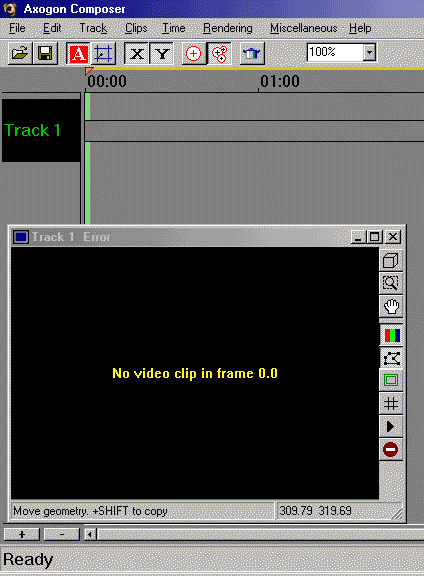
This is because you have not yet loaded your source. Click on the timeline to the right of the track name, and this window will appear:
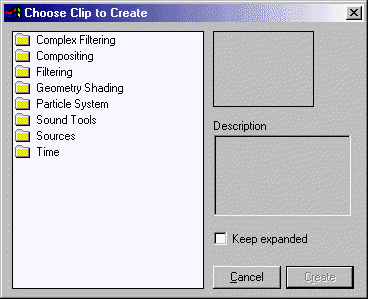
You want to click on sources.
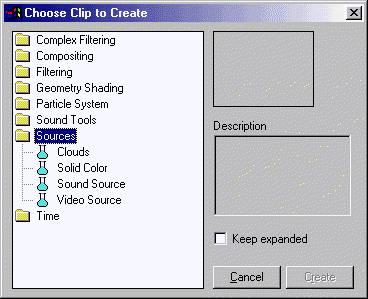
Then select video source.
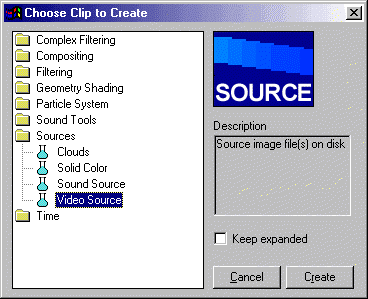
Now click on create. You should now see this in the main workwindow:
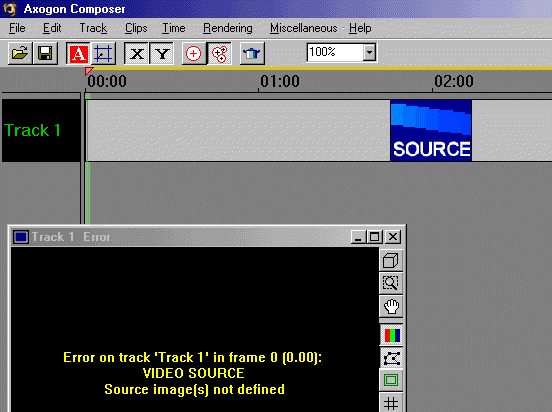
Now, double click on the timeline again to load your source. You should now see this:
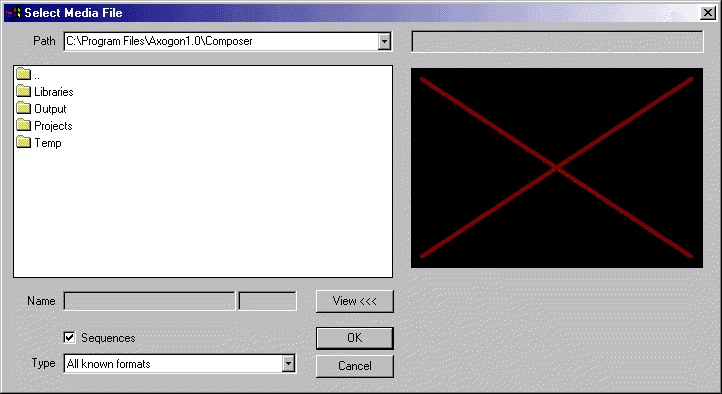
Go to whatever directory you saved the picture from above in, and select it as your source. You should now see this in the track window:
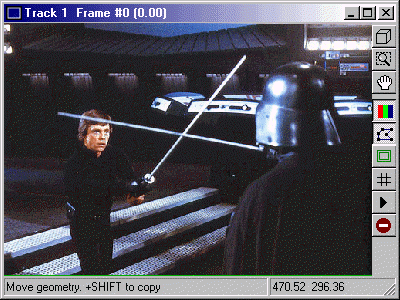
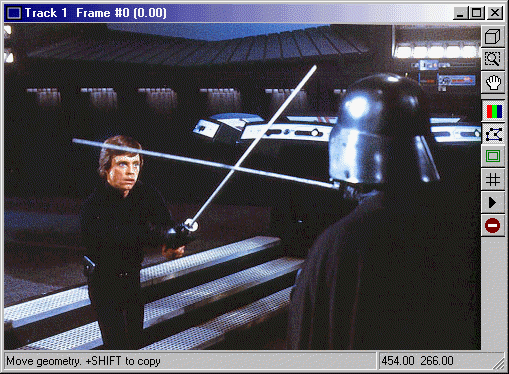
You will notice that picture looks a little distorted. Hold down the alt key, and while doing this, hit the button on the menu on the right side of the window that looks like a cube. The window should resize and look like this:
Now, we will begin the process of creating the sabers. Click here to continue.